Having a new baby takes up a lot of time and energy so this year I am raising a 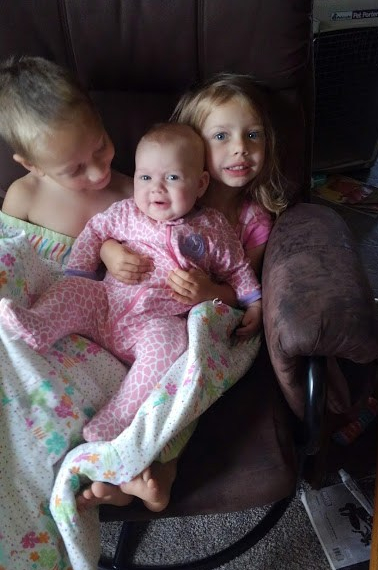 baby rather than working on projects. Helping Penelope grow is more important but still I look around at what I usually work on this time of year and sigh a little. While the weeds take over, Jack idles in his pasture, and products are not being made Penelope is rolling over, figuring out how to put things in her mouth, and laughing at her siblings. They are only little once so I enjoy it while I can and turn a blind eye on the toys taking over our house, never-ending laundry, and reappearing dishes.
That being said I do plan on making a few batches of goat cheese before the pigs are no longer hear to enjoy the waste byproduct of cheese making which is whey. Basically there are four ingredients needed to make cheese:
- Milk
- Rennet (My new rennet arrived in the mail this week!)
- Starter culture or buttermilk
- Water
Before I can make the cheese I need to make the buttermilk. I have discovered that I can make goat milk yogurt which works great as a cheese making starter. When my friend Jessica was living with us she liked to try new recipes and one that she tried was goat milk yogurt which she cleverly titled yo-goat. Unfortunately goat milk yogurt is an acquired taste which we were never able to acquire. While we were experimenting with goat milk we decided to use the yo-goat instead of buttermilk to make cheese. It worked great, so I have been using it ever since. Jessica gifted me her yogurt maker and I use the recipe in the booklet to make it.
Euro Cuisine Yogurt Maker Abbreviated Directions:
- Pour 7 glass jars (equal to 42oz) of fresh, pasteurized milk into saucepan.
- Heat milk until it boils (203 degrees) and starts to climb the sides of the saucepan. Boiling ensures a firmer yogurt familiar to most American tastes.
- Remove from heat and allow milk to cool to room temp. (68 degrees)
- Pour cooled milk through a fine mesh colander.
- Stir in one glass jar (6oz) of natural yogurt with some of the strained milk in a separate bowl until yogurt is dissolved and you have a smooth mixture.
- Mix the room temp. milk very well with the smooth mixture.
- Pour mixture into the 7 jars .
- Place the jars- without the lids– in the yogurt maker.
- Cover yogurt maker with clear lid.
- It takes about 6 hrs. to make yogurt with whole milk, and 8 hrs. for skimmed milk.
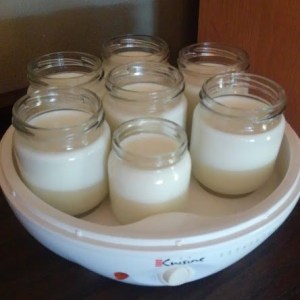
If you are wondering why one jar is smaller it is because we lost a jar and replaced it with a baby food jar.
As I have relaid in previous posts I do not follow recipes very well so I have my own version of this recipe. Remember I only use yo-goat as an ingredient to make cheese. If I were going to make yogurt for myself to eat I would follow the recipe a bit better.
Yo-goat Recipe:
- Pour 1 quart of fresh goat milk into saucepan.
- Heat milk to about room temperature.
- Add about 6oz plain yogurt and whisk until yogurt is dissolved into milk.
- Pour into the 7 jars
- Place jars- without lids – in the yogurt maker.
- Cover the yogurt maker with the clear lid.
- Let the yogurt maker run for about 6-8 hours until yogurt is ready.
As you may have noticed I have a few less steps to my recipe than the booklet recommends.
- I did not boil the milk because I want all the wonderful cheese making bacteria alive and well.
- I skipped a few steps to save on dishes. I hate washing dishes so if I can complete a project only using a pot and a whisk I will do so.
- I cut out a few steps that were only necessary to improve the texture of the finished yogurt. Again it will be an ingredient in a big pot of milk so texture issues are void.
Step 1 in cheese making completed! Now all I have to do is keep milking Fauna, the goat, until I have a gallon of fresh milk to make cheese.
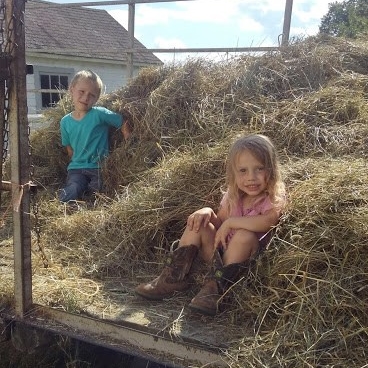
I want to add a quick note on what my two older kids worked on all afternoon yesterday while I made yo-goat. Lucian built a fox trap and they spent a few hours trying to catch the fox that has been taking off with our chickens. I would guess the fox has snatched 8 chickens and all 4 of our ducks. Yesterday Lucian made a noose snare with a piece of baling twine and a blind under a tarp to watch his trap. He didn’t catch a fox but he caught himself and Fiona a few times. They had a ton of fun hiding under the tarp waiting for the fox and planning how to catch him. They even put out food and water next to the loop to lure him in. Although they didn’t get the fox the fox didn’t get any chickens because the kids set up right next to the chicken coop.
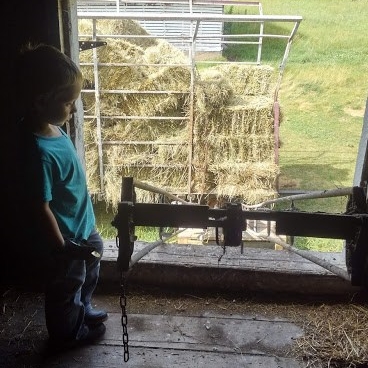
 big enough to be up in the hay mow yet. She would want to help which is great but she would also probably get wacked with a bale of hay in the process, which is not good. Penelope is 5 months old and needs a person’s full attention, so Grandma “da” came over to watch us work and visit with the wee little gremlins.