Experimental Christmas Soap

This year has been the busiest, craziest school year in all the years I have been teaching. I am glad I was able to squeeze in a little soap making time over Thanksgiving break. Each year I make one or two batches of soap that I use over the year and that I give away as Christmas presents. I bought a few new, cute soap molds this year so I am now able to make 6 pounds of soap at a time. I usually make them in 2 pound batches because that is how much my soap bowl will hold and because I like to make a variety of scents.

My kids are young so soap making day is strictly a no kid time. Usually Penelope is in daycare 3 days a week while the other two are in school. I have the same breaks as my school age kids so there is no point in Penelope going to daycare all day while I am home with the other two. Fortunately the daycare center I use is great and they were willing to take care of all three kids for a few hours one day that week rather than one child for 3 days. That gave me two hours of kid free time to make 6 pounds of soap. In order to make that work I had to do a little prep work first.

Prep Work For Making Soap:

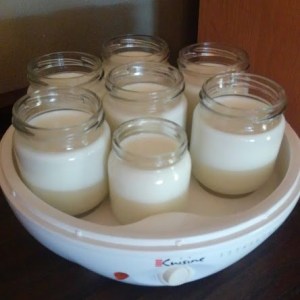
  • Pour goat milk into ice cube trays and freeze it. Then transfer the cubes into freezer bags when they are solid.
  • Clear everything off my table and cover with newspaper to help make cleanup faster.
  • Take out and set up my soap making tools which are a big glass bowl, kitchen scale, variety of smaller bowls, thermometer, immersion blender and all the soap molds.
  • Get the oils set out. I use a variety of oils in my soap such as olive oil, coconut oil, lard, sunflower seed oil, and castor oils.
  • Pick out what scents and additives I want to use for my soaps.
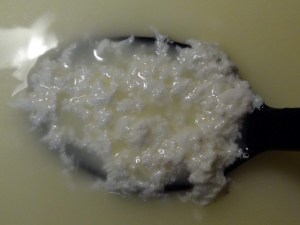
  • Set my son Lucian to grinding up oatmeal and powdering comfrey for my experimental soap.

This year for my experimental soap I picked out oatmeal and comfrey to try. Both oatmeal and comfrey are good for your skin and I wanted to try adding a little color to my soap but I’m not big into artificial additives. I thought it would be fun to try to color my soap using herbs that I grew in the garden this year. The soap making book I have, Pure Soapmaking, has a chapter on using herbs and other natural additives. A few of the herbs listed are very common herbs in our area so I thought it would be easy to try one out. My comfrey grows very well in our sandy soil and every year I collect some to dry. I set Lucian to grinding it up using a big mortar and pestle. It took quite a while for him to grind the leaves into a few teaspoons of the powdered herb but he had fun. He likes to help and he was bummed that I wouldn’t let him stay home to actually help make the soap. Each of the kids took turns grinding up oatmeal which was much easier for the littler ones. After we had everything ground up I put it into baggies for the next day.

Soap Making Day

I use a cold process method to make my soap which is why I needed frozen goat milk. I slowly add my lye to the frozen milk cubes and stir it often. While I am adding the lye to my milk I also work on measuring out my oils into my big bowl. Usually I am able to get my oils mixed together and warmed up slightly by the time I am done mixing in the lye. The goal is to mix the lye in slowly enough and stir it often enough that I don’t scorch the milk and to keep all the ingredients under 100 degrees F. I then add the lye/goat milk mixture to the oils and I use a stick blender to mix it all together. When the soap is to trace, or starting to thicken, I add the scents and other additives.

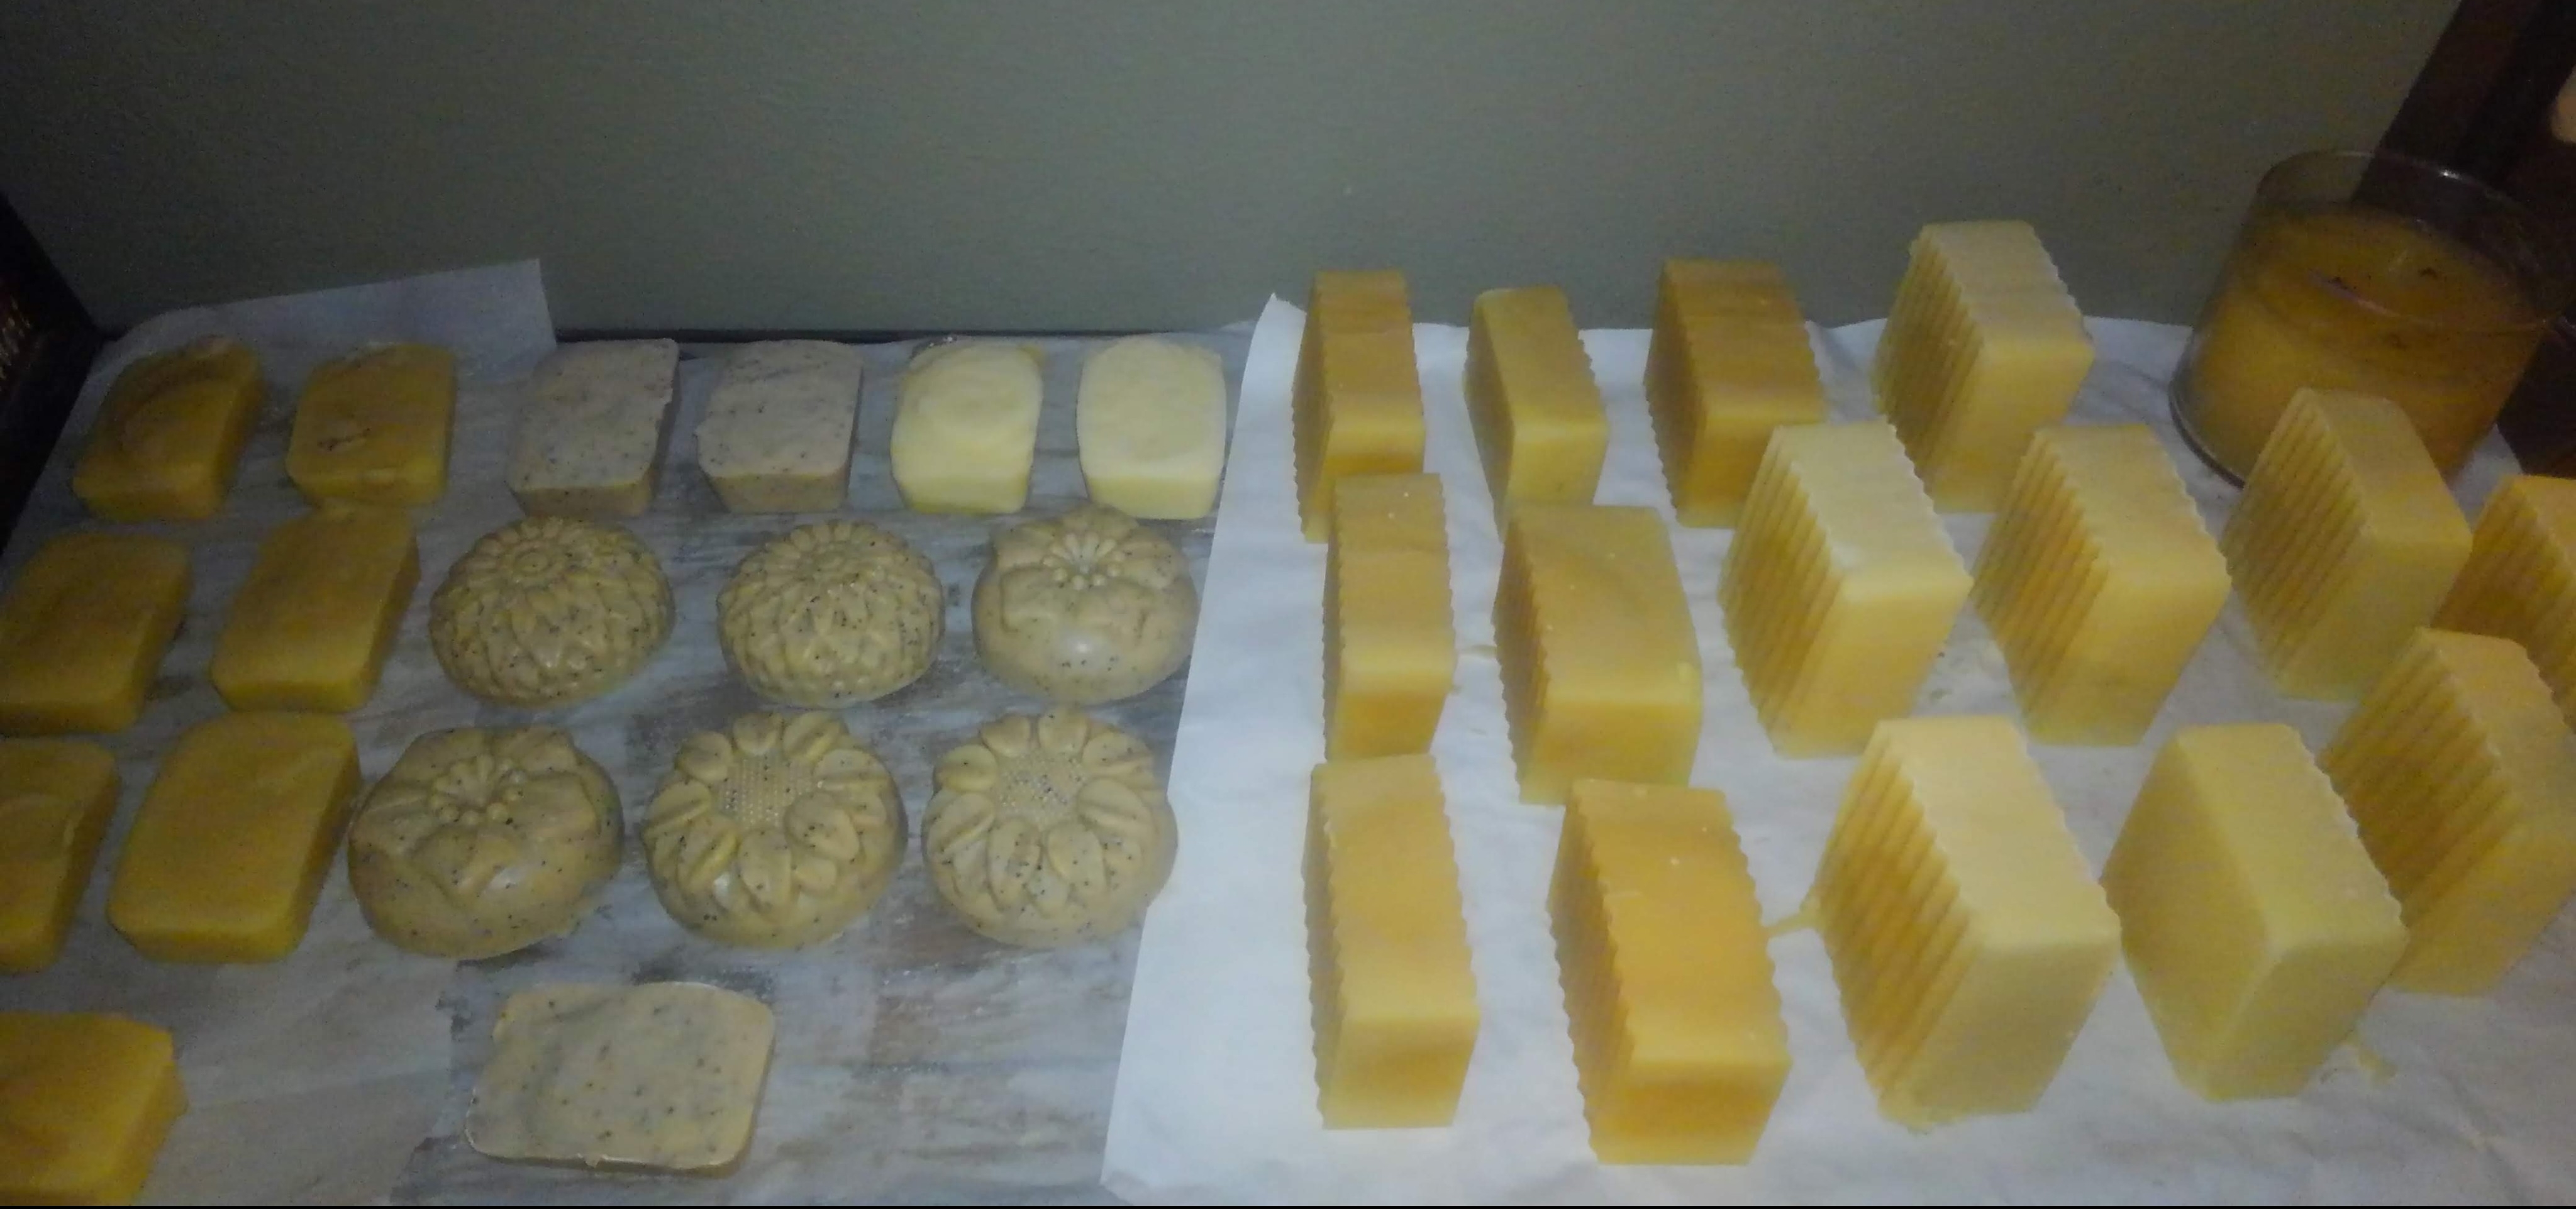
For the fist batch I made my favorite orange/clove scented soap using essential oils. The second was scented with orange and I added the coffee grounds from my morning coffee. This soap is a good scrubbing soap which is a favorite of my sisters. My last batch was my experimental soap. I added the oatmeal first and mixed it in. I was worried that I had put in too much but it turned out alright. I don’t always measure things like I should so I’m going to guess I used about 1/2 cup of oatmeal. Then I mixed the powdered comfrey which is supposed to color the soap a light green color. The recipe called for 2 teaspoons of powdered comfrey per pound of soap. We were only able to get about 2 1/2 teaspoons of powdered comfrey from what I had dried this year. That ended up being about 1 1/2 teaspoons less than I needed but I was surprised at how fast it colored the soap. Last I added lavender essential oil as a nice scent to my herbal soap. I used my new soap molds for my experimental batch of soap and am really happy with how they turned out.

Oatmeal/Comfrey Soap, Coffee/Orange Soap, and Orange/Clove Soap

The color is different, the oatmeal adds a nice texture to it, and the lavender scent is lovely. I think I will definitely make this recipe again although I will probably adjust it. I think a little less oatmeal and a bit more comfrey to darken the color would be perfect. Maybe next time I make soap I will try making a two toned yarrow and nettle soap which is supposed to turn out light yellow and green.

Using Goat Milk

On our small hobby farm we have two milking goats, Nora and Fauna. When we first started our small herd we did not realize how much milk one little goat can produce. Nora is our best milker and in the summer she will produce roughly a gallon of milk a day. If we are milking both goats that is 2 gallons a day which turns out to be about 12-14 gallons of raw milk a week. What in the world do I do with all that milk?

A few ways to use goat milk:

  1. Drink It- If I were a good homesteader I would drink the goat milk but to be honest I don’t like the taste. When I milk hot, sweaty goats I smell hot sweaty goats. Cooling the milk fast helps to mellow the goaty flavor but when I drink the goat milk I taste hot, sweaty goat. No, Thank You!
  2. Bake- Although I do not like to drink the goat milk I bake with it or use it to make creamy soups. The goaty flavor that I taste when I drink the milk does not transfer into other foods when I use it to bake with.
  3. Make Cheese- Making cheese is a great way to use large quantities of milk. There are many different types of goat milk cheeses that are absolutely delicious. My favorite is a spreadable cheese that is delicious on crackers.
  4. Make Soap- I can make a large amount of soap with only a little goat’s milk so making soap does not use up great quantities of goat milk but it is one of the nicest benefits to keeping goats.
  5. Freeze it For Later- There are some days in the summer where it is too hot to make cheese or I’m too tired at the end of the day so I freeze the milk for a later day. The milk will stay good in my freezer for about a year which gives me time to process it or sell it to other soap makers.
  6. Feed it to the Pigs- This may sound wasteful but it really isn’t. The goat milk helps my pigs put on weight faster and saves me a little on the cost of feed. I make sure I raise pigs at the same time I am milking goats because occasionally a goat will put her foot in the bucket and I don’t want to waste the milk. Also the pigs love whey which is a byproduct of making cheese.
Fiona adding dandelions to Nora’s collar

Milk Sharing

Milk sharing is when you separate the goat kids from their mother, usually overnight, and milk once a day while the kids nurse the other portion of the day. Last year Penelope was a newborn and it was the first time I tried milk sharing. I loved having the option to only milk once a day. Usually we wean kids off in the early summer and sell them in June but last year we shared milk with Fauna’s kid and sold her in the fall. I was worried we would get a lower price for her because we were selling her out of season but the price we received for her was competitive with previous years.

This year we are milking more regularly with Nora. She had two bucklings and we are getting ready to sell them so they will need to be fully weaned before they can go to new homes. She is being milked twice a day now and we have a nice amount of milk coming in without it being overwhelming.

Our other nanny had triplets, two does and one buck. We are milk sharing with her because my aunt is planning to buy her doe kids in the fall. Her kids are three weeks younger than Nora’s so we have just begun milk sharing with her. Soon we will wean off her little buckling and continue milk sharing with the two does. Milk sharing will help her kids grow bigger through the summer than they would on just a grass diet and it will bring our influx of milk down to a manageable amount.

Milk, Milk, and More Milk!

I have been milking goats, making cheese, baking, and freezing milk for the last few weeks and will continue to do so for the rest of the summer!

Enjoy a Little Spreadable Cheese

1/2 gallon goat milk warmed to room temperature

1/2 cup lemon juice

Salt

Warm the goat milk to room temperature and add lemon juice. Stir until curd forms and whey starts to turn yellowish. Strain through cheesecloth or butter muslin. Transfer the cheese to a bowl and add salt to taste. If the cheese seems too dry add a bit of goat’s milk until it is the desired consistency. I like to add fresh chopped chives and sweet basil to my cheese spread. Keep refrigerated.

Goat Milk Soap

Making soap can be one of the funnest and most challenging products to make with goat milk. Goat milk soap is one of the best soaps, in my opinion, because it doesn’t dry out my skin like other soaps, I know exactly what is in it, and I can buy all of the ingredients locally.

I usually make a big batch of soap in the fall because I like to give it away as homemade Christmas presents. My family loves my soap and they wish I would make more of it but making soap is a bit of a process that requires kid free time, which is a hot commodity for me.

white square ceramic ornament

Photo by Pixabay on Pexels.com

I first started making soap about 6 years ago after we bought our goats. The local college happened to have a community education class for making goat milk soap which seemed like fate. I signed myself, my sister, and my husband up to attend the night class. (Poor Trenton was the only guy there). I love taking community education classes and I was very happy to find this one. Since taking the class I make one or two batches of soap a year and I think I have a good recipe now, although I still tweek it a bit.

To make soap you need three basic ingredients:

  1. Lye
  2. Water/Milk
  3. Oils

A few pointers when making soap:

  • Wear long sleeves and gloves!
    • Working with lye is the reason I need kid free time. Although it will not violently burn your skin (Fight Club) it is not pleasant to get on you, which I do every time I make soap. The lye will irritate your skin even after you wash it off and feels like an annoying slow burn for a few hours.
  • Always add the lye to other ingredients not the other way around.
    • For instance, add the lye to your milk a little at a time until it is well mixed then add the lye mixture to your oils.
  • Use a variety of oils!
    • Different oils have different properties and will effect the quality of your soap. I use a mix of olive oil, coconut oil, lard, sunflower oil, and castor oil.
  • For lighter colored soap use a cold process method.
    • Using the cold process method with milk based soaps helps to keep the color lighter rather than a creamy coffee color.
  • Immersion blenders are wonderful.
    • To make soap you need to blend your oil and lye mixture which takes a lot of stirring. An immersion blender is the best way to mix your soap.
  • It is just as easy to make a large batch as a small one.
    • I have recently discovered this fine fact. I can make 5 pounds of soap with the same amount of clean up as 1 pound so I might as well make more soap at one time.

A good resource that I use when figuring out recipes is http://www.soapcalc.net/ because it will help you calculate how much lye, water(milk), and oils you need per batch. It will also rate the quality of your soap based on which oils you select and what percentage you want to use. I played with this website for a long time before I found a good mix that I liked and I still play with it a bit when I want to try an experimental recipe.

kimg0559

The Experimental Batch:

Usually when I make soap I make 2 Ibs of one scent and 2 Ibs of another. I have just enough soap molds to make 5 Ibs of soap so I experiment with the last pound of soap. This year my experimental soap is an orange coffee soap.

I wanted to try to make orange oil by simmering dried orange peels and olive oil in a double boiler for a few hours. I then used this oil as my olive oil in the recipe. When I had mixed the soap to trace(when the soap starts to thicken) I added the used coffee grounds from my morning coffee. It turned the soap a lovely brown and the grounds will give the soap a scrubbing quality.

I thought about adding orange essential oil to it as an added scent but I am curious if the orange oil I made will offer any scent to the soap. Hence the experimental batch of soap.

This last weekend I taught my Aunt Candy how to make soap and we had a great time getting Christmas soap done. I’ll admit I am cutting it close this year because it takes 6-8 weeks for soap to cure. My family will receive their soap with a warning not to use it until the week after Christmas!

Fresh Goat Cheese

Fresh goat cheese adds flavor to many recipes that would not be the same without it. The main problem is that fresh goat cheese is expensive and how fresh is it really?

Making fresh goat cheese is a great way to use your goat milk and to turn your raw milk into a great product. I thought I would share my recipe for fresh goat cheese.

This recipe needs to be started at night because the cheese making process is a long one.

  1. Heat 1 gallon of fresh goat milk to 70 degreeskimg0410
  2. Dissolve 1/4 tablet WalcoRen in 1 cup water
  3. Add 1 1/2 cups yo-goat. (See Yo-Goat post)
  4. Stir well
  5. Add rennet/water mixture to warmed milk
  6. Stir until curds form
  7. Place in an insulated box for 12 hours

I usually make cheese at night after Lucian and Fiona go to sleep. Penelope has been my helper the last few times I have made cheese but since she is 6 months old now and starting to grab at things it is a little hazardous holding her while stirring. Soon she will be banished to her bouncy seat when stirring is necessary.

In the morning:

  1. Use a cheese clothe or butter muslin to drain whey from curd.

    bread with cream on top

    Photo by Aistė Sveikataitė on Pexels.com

  2. Hang curd in cheese clothe for 4-6 hours.
  3. Form into molds. I use muffin tins double lined with paper cups.
  4. Turn every hour or so.
  5. After 2-4 hours cheese is ready.

I like to sprinkle a little cheese on a salad or pizza. There are many uses for goat cheese and finding what works best for your taste buds is the fun part!

Yo-Goat

Having a new baby takes up a lot of time and energy so this year I am raising a zkids
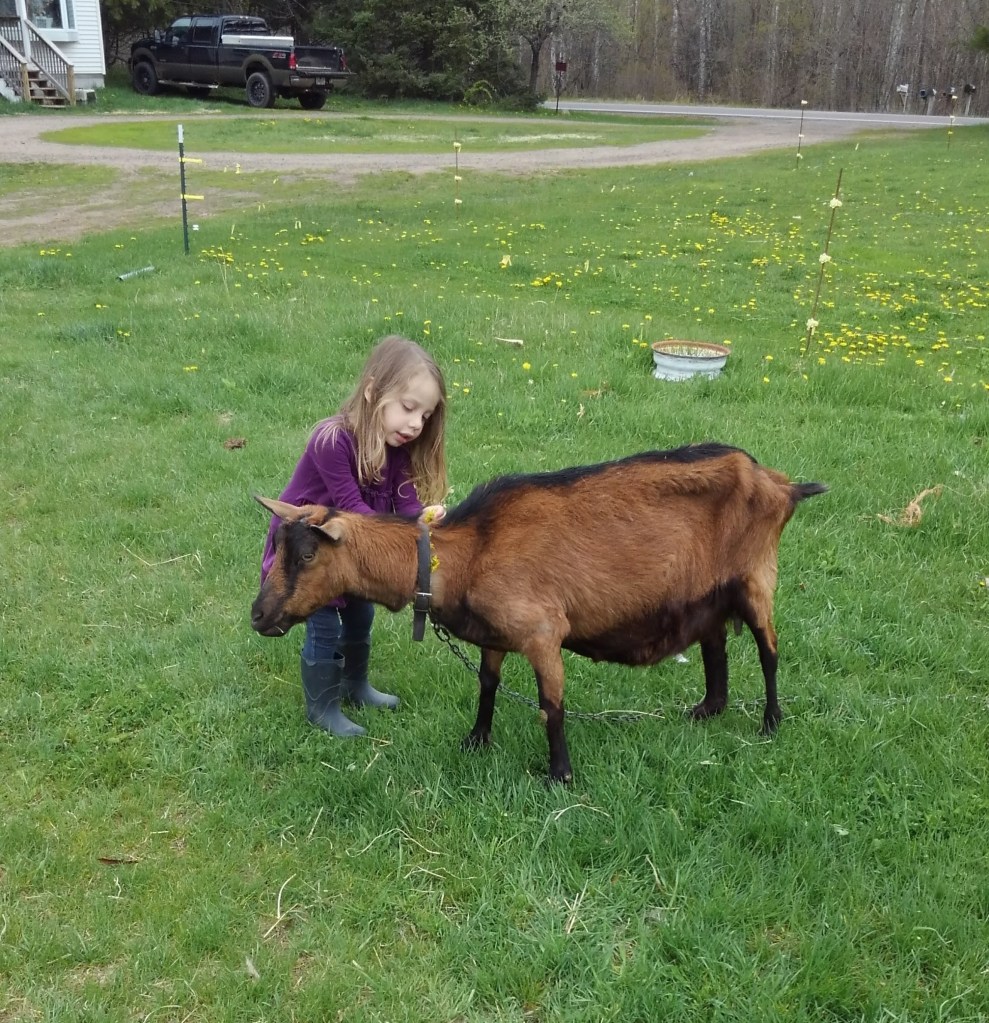
baby rather than working on projects. Helping Penelope grow is more important but still I look around at what I usually work on this time of year and sigh a little. While the weeds take over, Jack idles in his pasture, and products are not being made Penelope is rolling over, figuring out how to put things in her mouth, and laughing at her siblings. They are only little once so I enjoy it while I can and turn a blind eye on the toys taking over our house, never-ending laundry, and reappearing dishes.

That being said I do plan on making a few batches of goat cheese before the pigs are no longer hear to enjoy the waste byproduct of cheese making which is whey. Basically there are four ingredients needed to make cheese:

  1. Milk
  2. Rennet (My new rennet arrived in the mail this week!)
  3. Starter culture or buttermilk
  4. Water

Before I can make the cheese I need to make the buttermilk. I have discovered that I can make goat milk yogurt which works great as a cheese making starter. When my friend Jessica was living with us she liked to try new recipes and one that she tried was goat milk yogurt which she cleverly titled yo-goat. Unfortunately goat milk yogurt is an acquired taste which we were never able to acquire. While we were experimenting with goat milk we decided to use the yo-goat instead of buttermilk to make cheese. It worked great, so I have been using it ever since. Jessica gifted me her yogurt maker and I use the recipe in the booklet to make it.

Euro Cuisine Yogurt Maker Abbreviated Directions:

  1. Pour 7 glass jars (equal to 42oz) of fresh, pasteurized milk into saucepan.
  2. Heat milk until it boils (203 degrees) and starts to climb the sides of the saucepan. Boiling ensures a firmer yogurt familiar to most American tastes.
  3. Remove from heat and allow milk to cool to room temp. (68 degrees)
  4. Pour cooled milk through a fine mesh colander.
  5. Stir in one glass jar (6oz) of natural yogurt with some of the strained milk in a separate bowl until yogurt is dissolved and you have a smooth mixture.
  6. Mix the room temp. milk very well with the smooth mixture.
  7. Pour mixture into the 7 jars .
  8. Place the jars- without the lids– in the yogurt maker.
  9. Cover yogurt maker with clear lid.
  10. It takes about 6 hrs. to make yogurt with whole milk, and 8 hrs. for skimmed milk.

    zjars

    If you are wondering why one jar is smaller it is because we lost a jar and replaced it with a baby food jar. 

As I have relaid in previous posts I do not follow recipes very well so I have my own version of this recipe. Remember I only use yo-goat as an ingredient to make cheese. If I were going to make yogurt for myself to eat I would follow the recipe a bit better.

Yo-goat Recipe:

  1. Pour 1 quart of fresh goat milk into saucepan.
  2. Heat milk to about room temperature.
  3. Add about 6oz plain yogurt and whisk until yogurt is dissolved into milk.
  4. Pour into the 7 jars
  5. Place jars- without lids – in the yogurt maker.
  6. Cover the yogurt maker with the clear lid.
  7. Let the yogurt maker run for about 6-8 hours until yogurt is ready.

As you may have noticed I have a few less steps to my recipe than the booklet recommends.

  • I did not boil the milk because I want all the wonderful cheese making bacteria alive and well.
  • I skipped a few steps to save on dishes. I hate washing dishes so if I can complete a project only using a pot and a whisk I will do so.
  • I cut out a few steps that were only necessary to improve the texture of the finished yogurt. Again it will be an ingredient in a big pot of milk so texture issues are void.

Step 1 in cheese making completed! Now all I have to do is keep milking Fauna, the goat, until I have a gallon of fresh milk to make cheese.

I want to add a quick note on what my two older kids worked on all afternoon yesterday while I made yo-goat. Lucian built a fox trap and they spent a few hours trying to catch the fox that has been taking off with our chickens. I would guess the fox has snatched 8 chickens and all 4 of our ducks. Yesterday Lucian made a noose snare with a piece of baling twine and a blind under a tarp to watch his trap. He didn’t catch a fox but he caught himself and Fiona a few times. They had a ton of fun hiding under the tarp waiting for the fox and planning how to catch him. They even put out food and water next to the loop to lure him in. Although they didn’t get the fox the fox didn’t get any chickens because the kids set up right next to the chicken coop.