I am glad we live on a small hobby farm in the country because although I have to stay home I am still able to go outside and enjoy spring. Trenton is considered an essential employee and is still able to go to work which is a great relief for our family. I am currently working from home gathering resources for my Kindergarten class while I am still long-term subbing for the regular kindergarten teacher who is out on maternity leave. I have also been planning lessons for Lucian who is now  being home schooled. I am also supporting my sisters as they work to home school their children as well. A small upside to this is that it is finally getting nice enough that we can be out with Penelope for longer stretches.
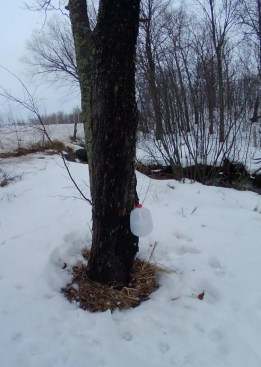
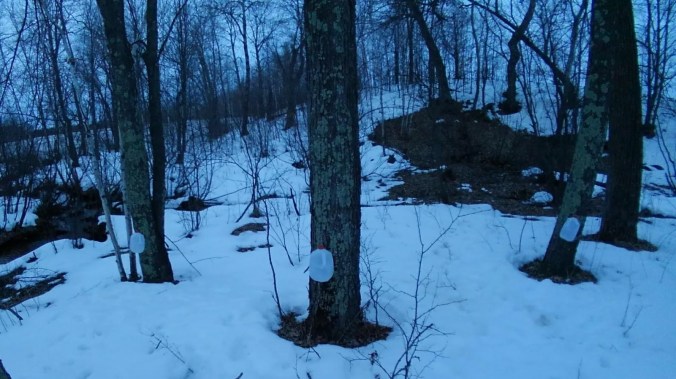
It’s sugar season! The kids love hiking through the woods to check taps. Especially since their dad will sometimes literally throw them across the creek into the snow bank on the other side. Even Penelope goes in her sled or stroller to check taps.
The sap has really been flowing since it has warmed up a little more and we have cooked down our fist batch for syrup.
Cooking Process
- Start Outside
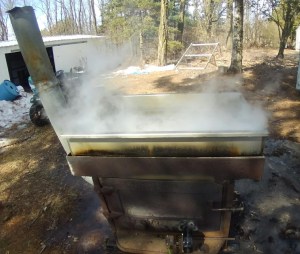
We start cooking our sap on a homemade outdoor sap boiler. It is basically a small wood stove with a stainless steel tub fitted over the top. The tub can hold about 25 gallons of sap but for our first batch we only had 15 ready to cook. It is best to cook your sap within a week of collecting it and needs to be kept cool while it waits. We keep the fire going in the fire box for most of the day until the sap has cooked down enough to bring in the house.
2. Finish Inside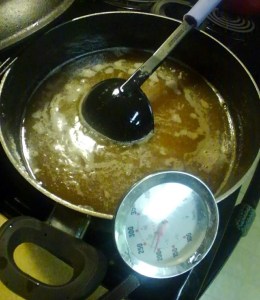
Once the sap has cooked enough outside to fit into my stock pot we bring it inside to finish. During this last stage of cooking the sap needs to be watched closely to be sure it does not cook down too much. If the syrup is cooked too long it will crystalize and turn into sugar. It still tastes good but we want syrup. The sap must be kept at a continuous rolling boil without boiling over until it is the right consistency.
3. Checking the Syrup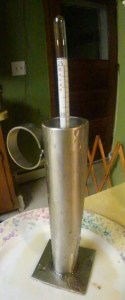
This year we invested in a hydrometer which is a tool that measures the density of a liquid. In previous years we have always boiled the syrup until we felt it “thicken” when stirred. Using a hydrometer takes the guesswork out of cooking sap down. This year all our batches of syrup are consistent rather than runny or crystalized.
Pulling Taps
We could have made more syrup but after three batches we decided to be done for the year. Making syrup is not particularly hard but it is a time consuming process that we like to do but we are also glad to be done.
For our sugar season we boiled 60 gallons of syrup for a grand total of about 1 and a half gallons of finished syrup. Hopefully it will last us until next spring but it depends on how much syrup the kids need on their pancakes!